There is still work that needs to be done in my crafting room. It will have to wait until we've saved some more money to buy some specific pieces of furniture. However, here's photos of what I have so far. :)
I have essentially two "zones" for crafting supplies in my room. Because I share my crafting space with the master bedroom essentials, it just works better for me to have this system.
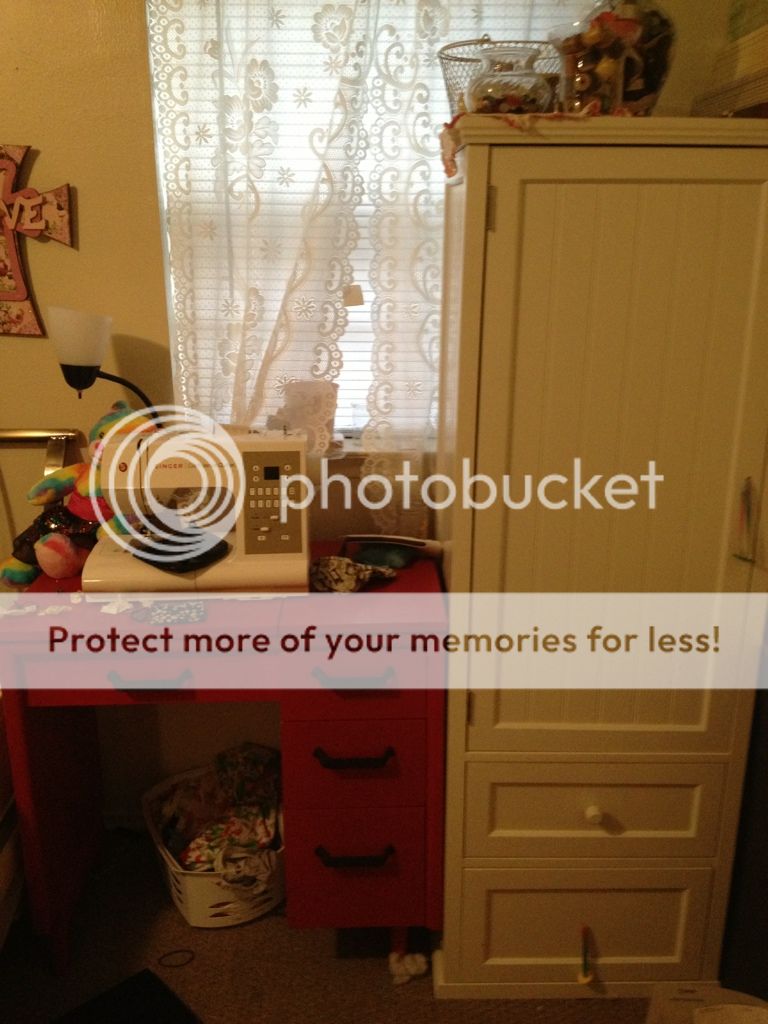
Zone 1: Daily or often-used items. These are items I need to get my fingers on quickly without getting up from my chair. Also, this is the area for those tiny items or large, flat items that need to be stored. (Please forgive the clutter. I was in a hurry when photographing.)
 |
| Zone 2: Dresser with shelving above. |
Zone 2: This is like "cold storage" for my crafting supplies. It's where my mini-bolts of fabric are; paints, ModgePodge, and other things I use randomly are also stored here. It is across the room from Zone 1...simply because that's where the shelves are installed. My goal is to eventually get it all on the same wall/area.
Some disclaimers:
- I am *not* naturally organized. I had to really, really think and plan in order to get this area to work well.
- We have some pretty hefty financial goals, so my funds were severely limited on this project. I repurposed many, many items to make this work.
- This area has been a work-in-progress since we moved into this house 3 years ago.
- I have *yet* to allow myself to use it because I wanted it to be neat and organized from the get-go. I *think* it will all work, but some things might not. So, I'll be adjusting as I use it.
 Let's break down Zone 1:
 The sewing desk I originally bought for my oldest. I swapped a big old lab table (my old sewing table) for this. :) It will be painted a different color at some point...when I decide what color I want it.
The lamp is a clip lamp. My sewing machine was a gift from My Superhero last year for Valentine's Day. And the scrap caddy/pincushion was a Christmas gift.

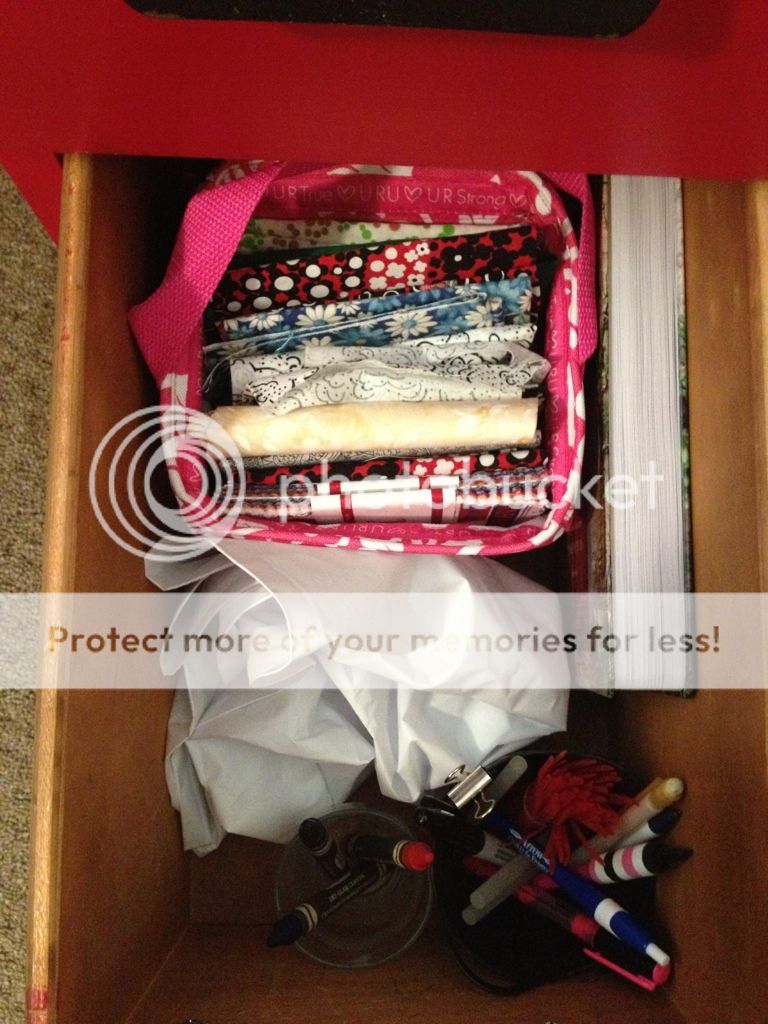
This is the inside of my top drawer. Items clockwise from the top:
New quilting thimble, pink container with basting pins and thimbles, pink tomato full of quilting pins, red tomato with regular pins, retractable tape measure, yellow tape measure, blue magnet pin holder, pinking shears, divider with new sharps and machine needs, yellow bobbin holder with full bobbins (thanks, bro!), and a clear glass jar with empty bobbins.
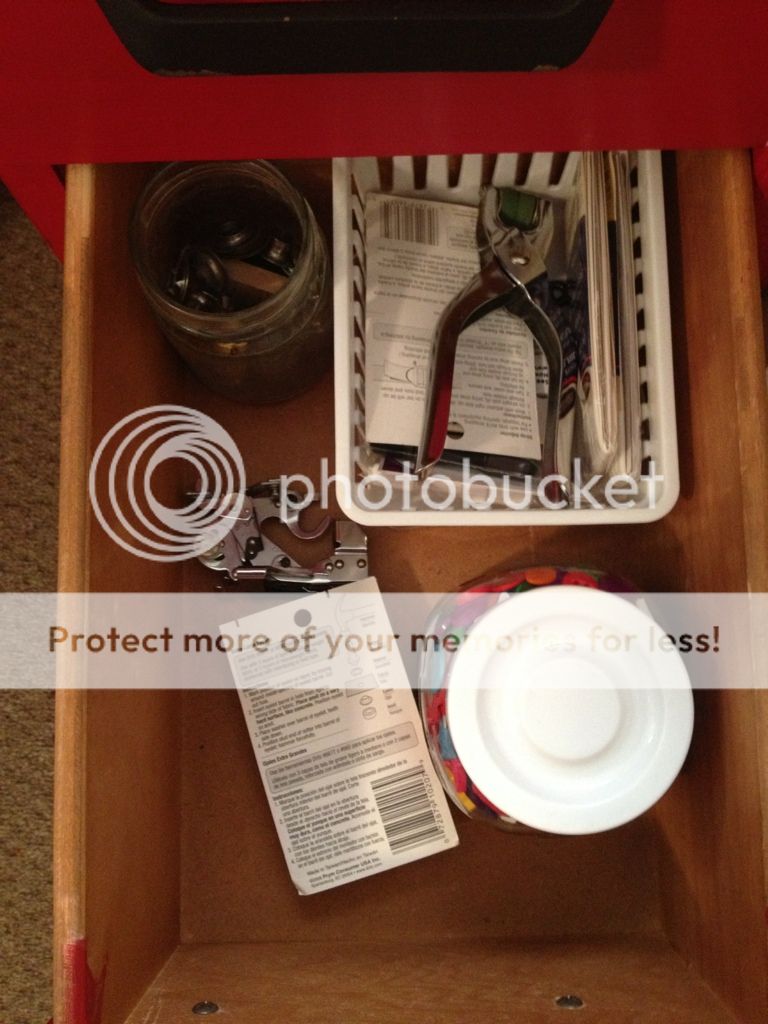
Middle drawer with basket full of notions (rickrack, piping, and a snap tool), jar of buttons, ruffler foot, and a jar with grommet parts.
Nursery Armoire
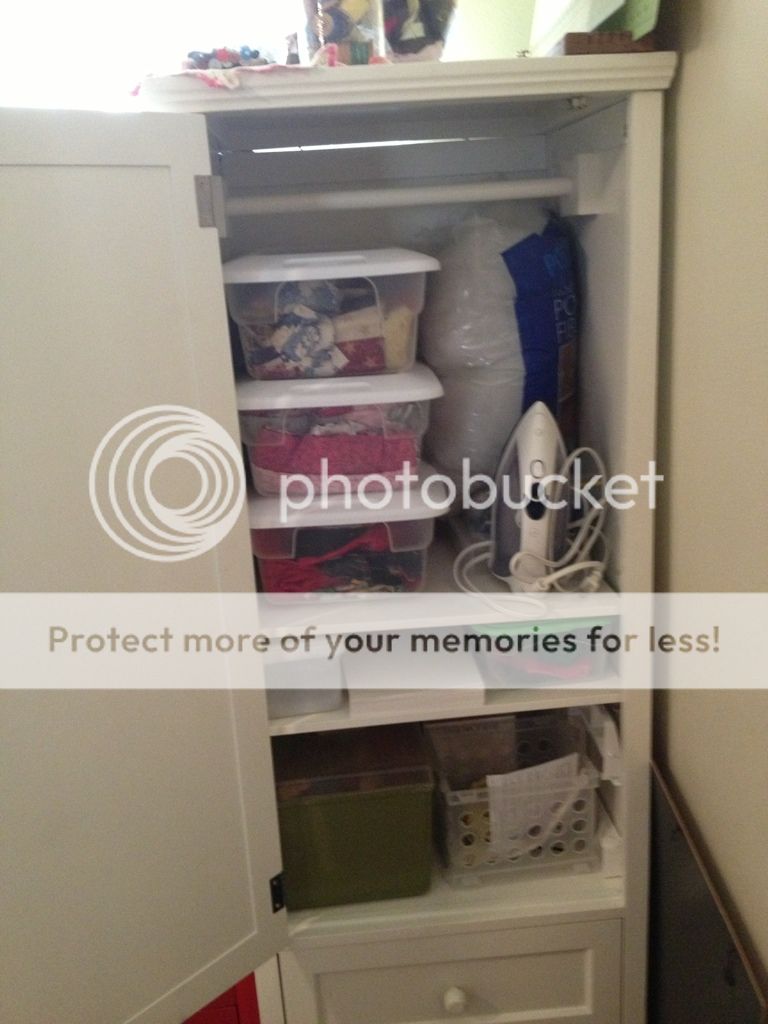
The Nursery Armoire/Craft Cabinet has 2 areas: a door with open storage and 2 drawers.
Inside the door: tubs are stacked on the top shelf, along with PolyFil and my iron. Below that are smaller tubs with alike items grouped together: velcro, zippers, felt, paper for my mini-bolts. The bottom shelf holds an awesome vintage sewing caddy with items from my grandmother and great grandmother.
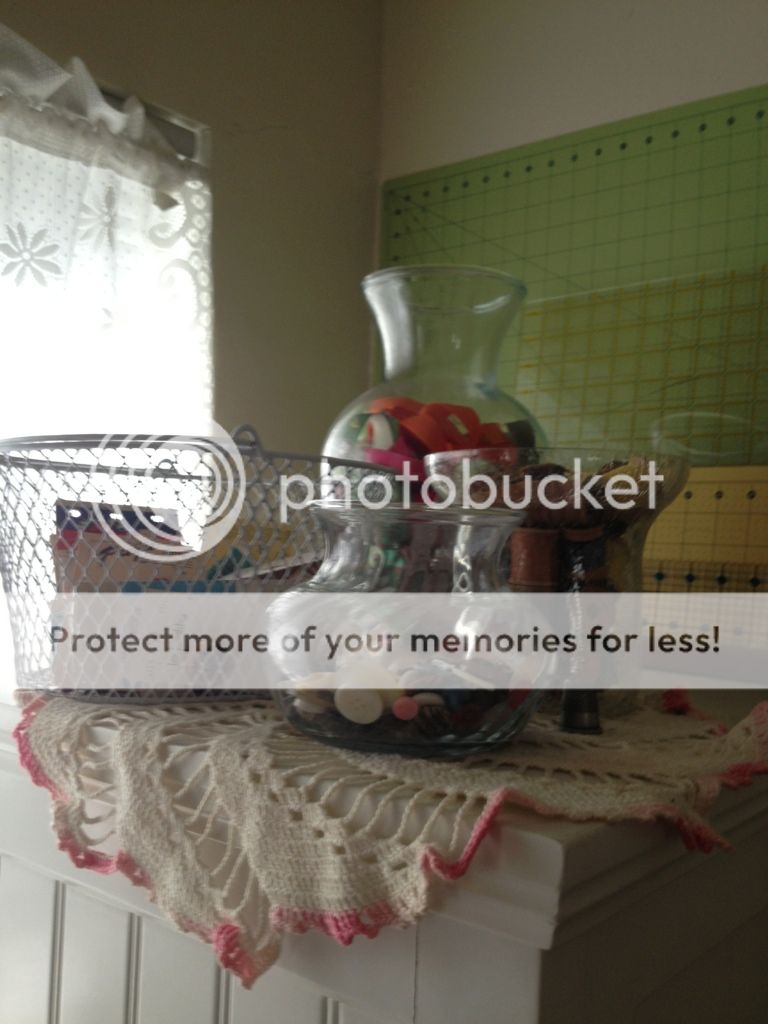
As an homage to my amazing grandmother and great-grandmother, I've displayed their vintage buttons, spools of thread, notions, and thimble on an old doily. Behind that, in the tall vase is my scrap ribbon. The backdrop for all of it is my cutting mats and rulers for rotary cutting (not because I think they are beautiful. Simply because they demand so much space). All of this is on top of the armoire to keep it out of reach of my little ones and out of harm's way when I'm working.
Up next: Zone 2