I am so sorry, y'all. We have been so wrapped up in this whirlwind MOVE. Yes, the family is in the process of moving to a new place. We are gaining roughly 600 sf. My craft room is an actual room instead of a corner of the master bedroom (though it is still technically *in* the master bedroom's sitting room).
Because of all the new spaces we have, I am embarking on several furniture projects. I'm very excited that I *finally* get to do all those awesome Pinterest projects I've been drooling over.
Here is a list of what I'm hoping to tackle in the next few days (weeks? months?):
Playroom:
Play kitchen out of various vintage pieces of furniture for the Littles. This will be complete with aprons, mini-hot mitts and possibly towels, place mats, etc. This is their birthday (possibly Christmas) present.
Snack table. For them to eat snacks and pretend to set the table or pretend to eat their play food.
Chalkboard table. I was going to do the whole convert-a-crib-into-an-art-table Pinterest project, but decided that would be too bulky. Instead, I traded a couple of pieces of furniture that I'm not using for an adorable child-size table and chairs. It's 100% wood, so I can play with paint and not ruin it!!!
Decor: The Littles discovered their old monkey decor during the move. They then demanded to have monkeys back in their bedroom. I don't have any monkey blankets for their beds and spent a TON of time and effort getting their room all Sesame Street Chic. So, my compromise is monkeys in the playroom, Sesame Street in their bedroom.
Dining room:
Three chairs into a bench. My mom found the chairs. So, I need to clean them, prime them, paint them, then my dad will connect them into a bench. After that, Mom and I will upholster it. :)
Master Bedroom/Sitting area/Craft Space:
I need to paint that sewing cabinet. No idea what color...but absolutely not red.
Pick up a FREE vanity. Cut it apart. Sand it down. Paint it. Turn it into two nightstands.
Finish the "charger caddy" that I started about a dozen years ago (actually only about a year ago). Actually, I may just photo that one and call it done. :)
Back yard:
Compost Bin. Any ideas???
When I list it like that, it seems like not a lot. However, I think it might be quite a bit. :) Oh well, it will keep me from spending a ton of money on fabric. Right? Maybe?
Friday, March 8, 2013
Tuesday, February 5, 2013
The Crafty Corner "Reveal" Part 1 of 2
There is still work that needs to be done in my crafting room. It will have to wait until we've saved some more money to buy some specific pieces of furniture. However, here's photos of what I have so far. :)
I have essentially two "zones" for crafting supplies in my room. Because I share my crafting space with the master bedroom essentials, it just works better for me to have this system.
Zone 1: Daily or often-used items. These are items I need to get my fingers on quickly without getting up from my chair. Also, this is the area for those tiny items or large, flat items that need to be stored. (Please forgive the clutter. I was in a hurry when photographing.)
 |
| Zone 2: Dresser with shelving above. |
Zone 2: This is like "cold storage" for my crafting supplies. It's where my mini-bolts of fabric are; paints, ModgePodge, and other things I use randomly are also stored here. It is across the room from Zone 1...simply because that's where the shelves are installed. My goal is to eventually get it all on the same wall/area.
Some disclaimers:
- I am *not* naturally organized. I had to really, really think and plan in order to get this area to work well.
- We have some pretty hefty financial goals, so my funds were severely limited on this project. I repurposed many, many items to make this work.
- This area has been a work-in-progress since we moved into this house 3 years ago.
- I have *yet* to allow myself to use it because I wanted it to be neat and organized from the get-go. I *think* it will all work, but some things might not. So, I'll be adjusting as I use it.
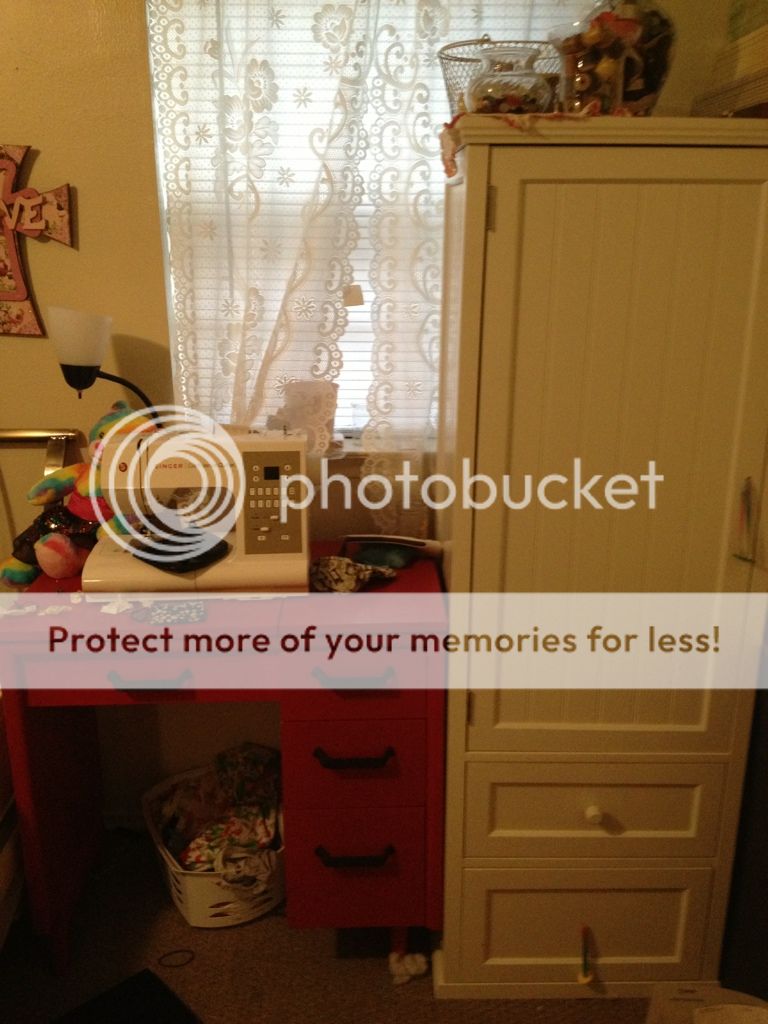
 Let's break down Zone 1:
 The sewing desk I originally bought for my oldest. I swapped a big old lab table (my old sewing table) for this. :) It will be painted a different color at some point...when I decide what color I want it.
The lamp is a clip lamp. My sewing machine was a gift from My Superhero last year for Valentine's Day. And the scrap caddy/pincushion was a Christmas gift.

This is the inside of my top drawer. Items clockwise from the top:
New quilting thimble, pink container with basting pins and thimbles, pink tomato full of quilting pins, red tomato with regular pins, retractable tape measure, yellow tape measure, blue magnet pin holder, pinking shears, divider with new sharps and machine needs, yellow bobbin holder with full bobbins (thanks, bro!), and a clear glass jar with empty bobbins.
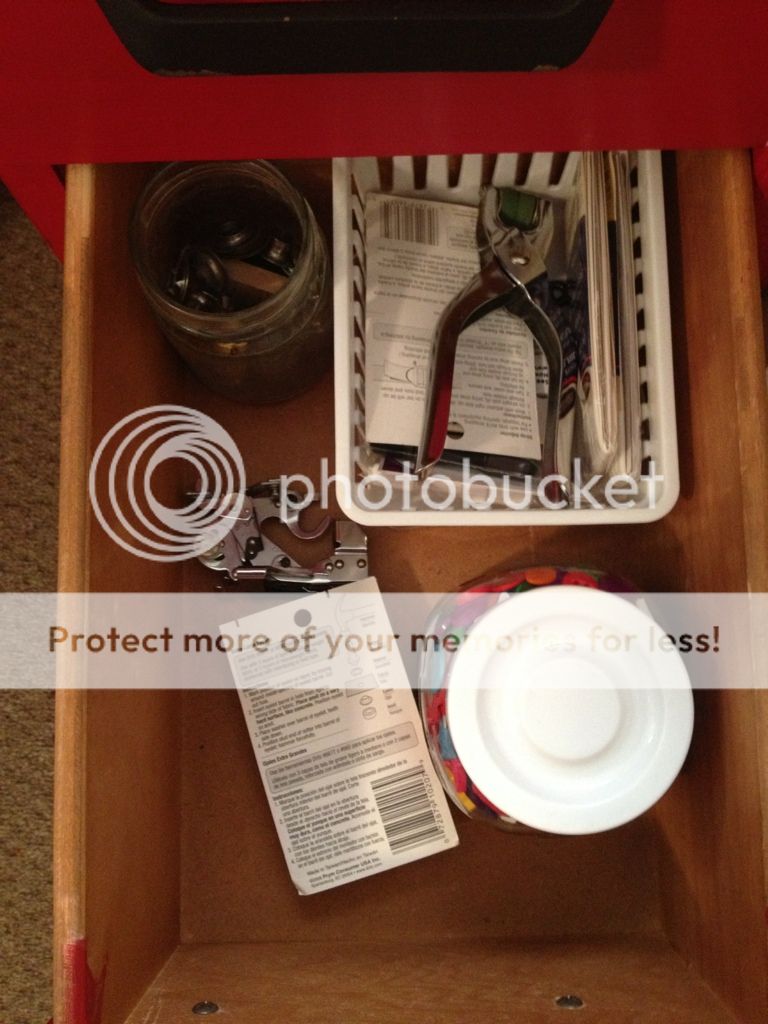
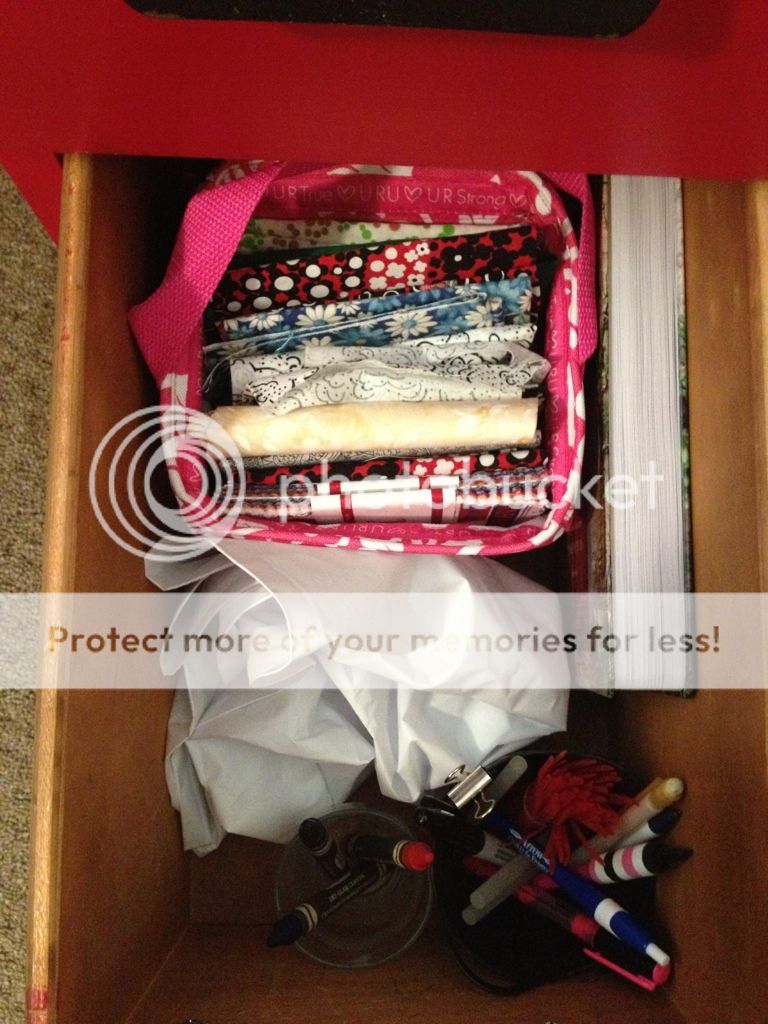
Middle drawer with basket full of notions (rickrack, piping, and a snap tool), jar of buttons, ruffler foot, and a jar with grommet parts.
Nursery Armoire
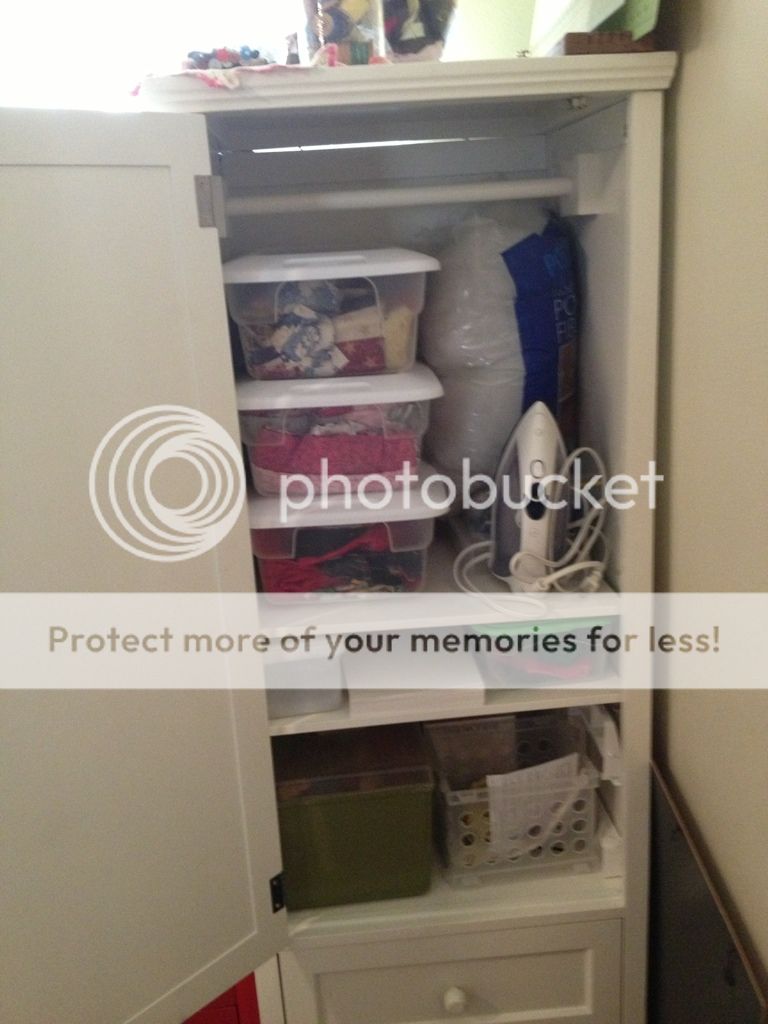
The Nursery Armoire/Craft Cabinet has 2 areas: a door with open storage and 2 drawers.
Inside the door: tubs are stacked on the top shelf, along with PolyFil and my iron. Below that are smaller tubs with alike items grouped together: velcro, zippers, felt, paper for my mini-bolts. The bottom shelf holds an awesome vintage sewing caddy with items from my grandmother and great grandmother.
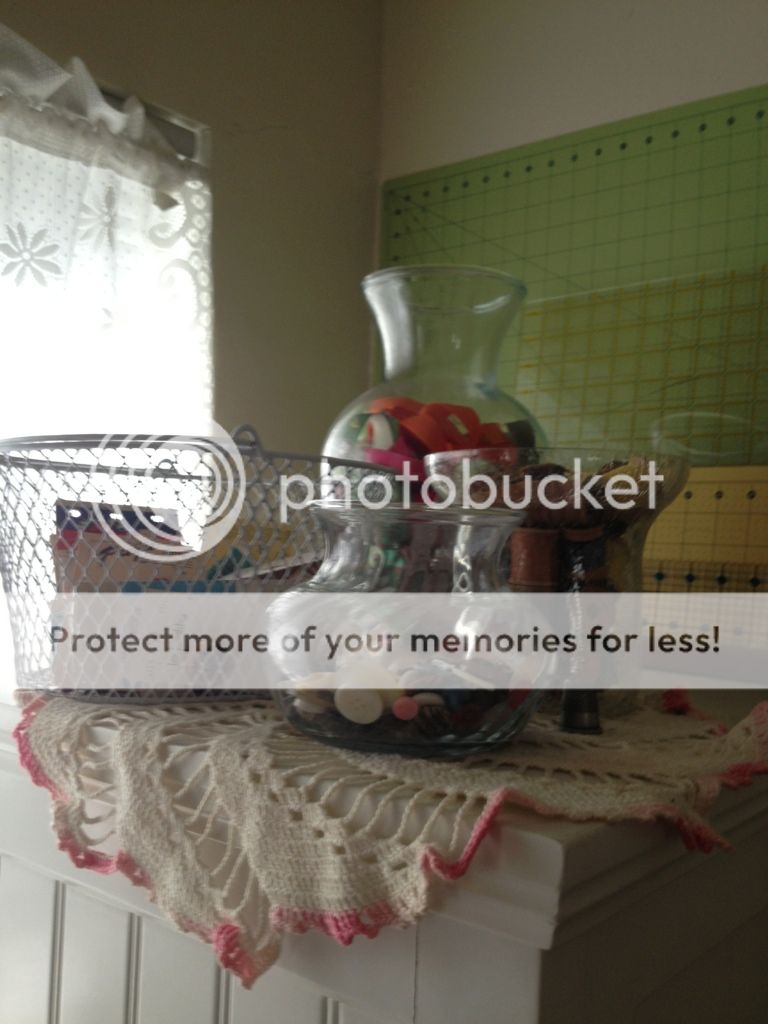
As an homage to my amazing grandmother and great-grandmother, I've displayed their vintage buttons, spools of thread, notions, and thimble on an old doily. Behind that, in the tall vase is my scrap ribbon. The backdrop for all of it is my cutting mats and rulers for rotary cutting (not because I think they are beautiful. Simply because they demand so much space). All of this is on top of the armoire to keep it out of reach of my little ones and out of harm's way when I'm working.
Up next: Zone 2
Wednesday, January 30, 2013
Time to work!
I gave myself until January 31 to get all of the work done on my craft corner. I know that there are several things that will need to wait until we have saved money for new or new-to-us furniture. But, I am going to work hard today to get things done so that you can see how I have my crafting area set up. :)
It's a challenge because I get to have my crafting space in my master bedroom. But, I'm determined to make it work. My 'want to make' list is getting longer every day!
While I'm working, I'll leave you with a couple more photos. I found what was missing from the decor over my bed and hung it up. I'm not sure I like the layout of the grouping; I might play around with it a little more.
Once again, it's from Cherry-Kandy Boutique. I'm pretty sure this one was made by Cherry.
Enjoy!
It's a challenge because I get to have my crafting space in my master bedroom. But, I'm determined to make it work. My 'want to make' list is getting longer every day!
While I'm working, I'll leave you with a couple more photos. I found what was missing from the decor over my bed and hung it up. I'm not sure I like the layout of the grouping; I might play around with it a little more.
Once again, it's from Cherry-Kandy Boutique. I'm pretty sure this one was made by Cherry.
 |
| The whole grouping. |
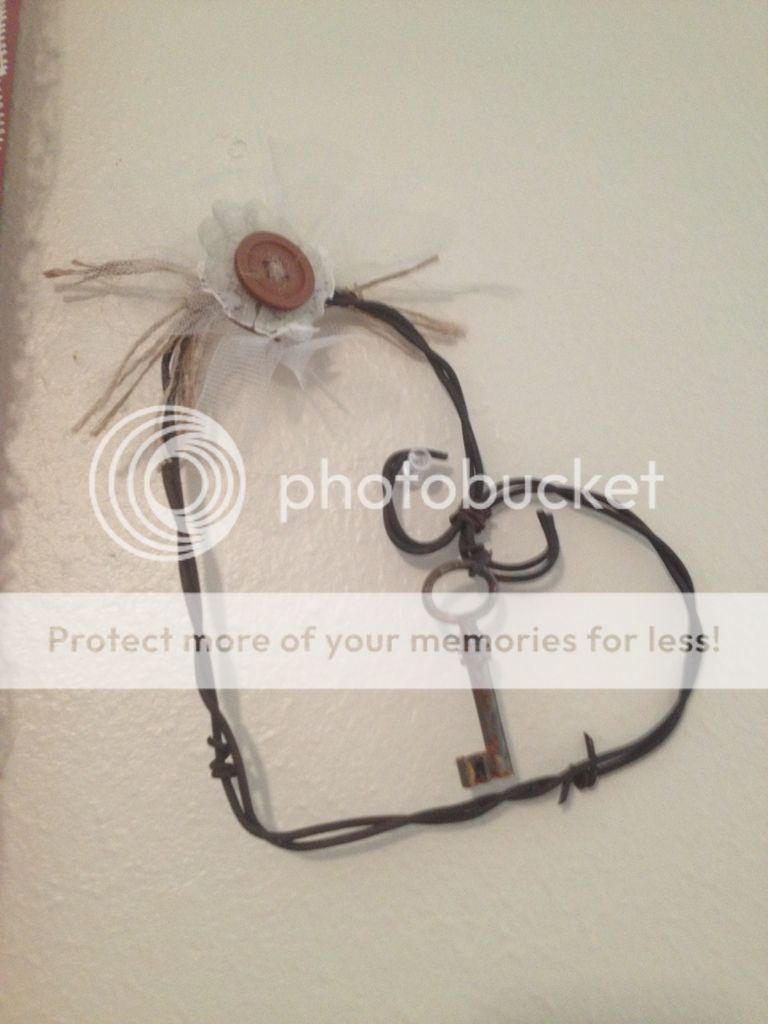 |
| Shabby Chic barbed wire cross with antique key, vintage lace/button and some twine. |
Enjoy!
Hopefully tomorrow I will be back with photos of how my crafting area is arranged. :)
Thursday, January 24, 2013
More Pretties!
I added a couple more items around the huge painting that I posted yesterday. Thought y'all might want to see them, too.
 |
| Entire grouping. I think it needs a little something on the right. |
 |
| Close up of pretties on the left. |
 |
| And the awesome cross on the right. |
Once again, the amazing decor comes from the ladies of Cherry-Kandy Boutique. Today's items were created by Cherry. Click here to go to her Etsy shop (non-sponsored link).
Tuesday, January 22, 2013
Thrifty Frame
My husband is my superhero. I'm not lying. He does amazing things for me and the kiddos. Anyway, for our anniversary I commissioned a painting to be done by a local artist. Our anniversary is right in the middle of the holiday season. Unfortunately, I didn't try to hang the painting until last week. That's when I realized that this awesome painting blended with the color of the walls in our room. :(
We can't paint. It's in our rental agreement. I pondered all different kinds of ideas: weathered fence posts, pallets, fabric, a bigger frame, painting just a square, and buying a frame for the piece.
Finally, like a truly thrifty crafter, I just used what I had and made do. :) I really like the results.
The following is my very first attempt at making anything close to a tutorial. I just took lots of pictures and will share about the process. It's truly very simple, but time consuming.
I forgot to take a photo of the frame that I started with, but it's an 18X24" poster frame similar to this (sponsored link).
 |
| I took it outside and spray painted it pink. |
 |
| I was running out of paint, so it's kind of splotchy. That was ok with me. I just needed a non-black background. |
 |
| I hot-glued on some vintage lace. |
 |
| Then some dark brown ribbon. I lined up the edge of the ribbon with the edge of the frame. |
 |
| Here, I'm attempting to stick some cork to the back of the frame. |
 |
| Then batting |
 |
| And finally, this adorable batik. I only had 2 fat quarters and the fabric has been discontinued. If you are purchasing yardage, buy a little more than 1/2 a yard. |
 |
| Close up of finished product. |
 |
| Wide view (and our cute thrift store find headboard). |
I didn't end up using the back of the frame. I didn't have enough fabric and it kept popping out. Instead, I just stapled the fabric to the wall. Then, I hung the frame on the wall. Finally, I used pushpins to hold up the painting.
Cherry-Kandy Boutique is the name of the place where I got the painting. Kandy worked with me on the colors for the painting and the lace/pearls instead of a frame. She also added our wedding date to the painting. I hope My Superhero loves it as much as I do. (He says he does.)
I will add a photo later when I have that wall finished. I have some other items to fill out the space a bit.
Wednesday, January 16, 2013
The Great Crafty Corner
So, I'm going to be a little weird and start off my blog with a "reveal". Well, I will as soon as I get done with the project.
We moved into this house about 3 years ago, and I've never been satisfied with my crafting space. We tried part of the HUGE dining room...that didn't work. Then, my husband graciously gave me half the master bedroom, but I couldn't make that work. All my recent craftiness has taken place on the dining room table. :( Now, I'm re-configuring furniture and attempting to make the master bedroom work...again.
While you are waiting for the great reveal photos, let me share some of my inspiration:
Quilt Monster Closet has a really cute post full of amazing ideas and I'm going to be using some of them. :)
This post doesn't really have 9 ideas, but it does have something that I will be using in my room.
Just a bit from this blog's Pinterest ideas, as well.
And I might have to borrow the pegboard idea from Clean and Scentsible's blog.
Enough eye candy!!! Now it's time for me to get back to work. Enjoy....
Welcome!
Welcome to my new blog. I hope to provide lots of fun content, or at least keep a record of all things crafty/sewing that I do this year.
While this blog is primarily for my own personal enjoyment, I hope you enjoy checking in from time to time.
My name is Sunni (sound like sunny). Well, it's a nickname. :) I'm pretty big on privacy, so that's all I'll go by.
I've been crafting/sewing ever since I can remember. My mom has some of my painting adventures hanging on her Christmas tree every year (from when I was barely in school). Within the past couple of years, I have ventured into quilting and have fallen completely in love.
I named my blog Sunni Says Sew because that's said around our house a LOT. :) I changed "so" to "sew" because sewing is my therapy. When I have a tough day, all I want is a hot bath and some sewing time.
Well, enough about me....let's get sewing.
Subscribe to:
Comments (Atom)